Manufacturers of Professional Floor Covering Tools & Equipment
 Here’s how easy it is to make quick, durable repairs and touch-ups with Wood Doctor and Ceramic/Vinyl Doctor repair kits from Taylor Tools. |
|||
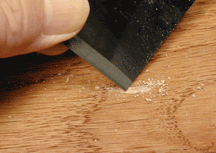 1. Prepare damaged area by removing all loose wood fibers, chips, etc. |
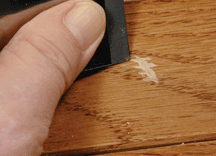 2. If the damaged area is across the grain of the wood, use the scraper to cut small v-shapes into the damage in the same direction as the grain. |
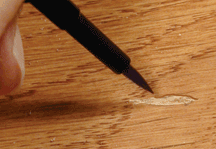 3. Pre-color the edges of the damage with one of the edge preparation pens that most closely matches the color of the wood. The darker the wood, the more important this step is. |
|
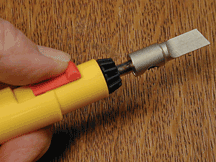 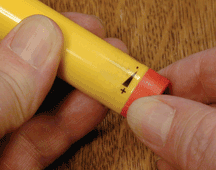 4. Light the hot knife by pushing the square thumb switch forward, turn the volume knob counter-clockwise to high.  Place the striker next to the mantle and flip the flint wheel. Place the striker next to the mantle and flip the flint wheel. Turn the volume down to a medium temperature to prevent burning the filler material. |
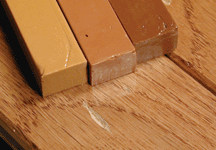 5. Select the colors to be used by finding 2 or 3 colors that closely match the lightest, mid-tone and darkest areas of the finish. You can always change or add colors if necessary. |
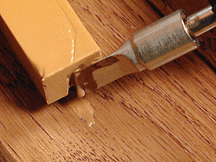 6. Melt small amounts of each color, beginning with the lightest color, and apply to the damage by placing the tip of the hot knife into the damage and stirring the melted material into all the voids. |
|
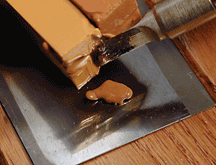 Alternatively, you can melt varying amounts of colors on a separate surface such as the scraper until satisfied with the color match. Transfer the resulting mixture into the damage with the tip of the knife. |
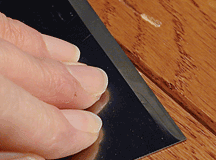 7. While the material is still soft, place the scraper flat on the surface and press to cool and flatten the polymer material while forcing it into any voids in the damaged area. |
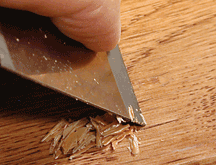 8. Holding the scraper at an angle, remove excess polymer in a back hand motion. |
|
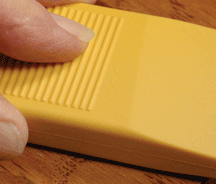 9. Remove additional excess material with the finishing planer until the filler material is level with the surrounding surface. |
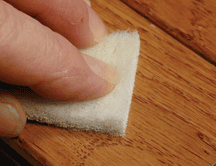 10. Finish blending by rubbing the area with the Scotch-Brite. |
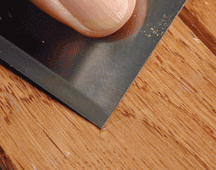 11. Add grain to the repaired area by either of the following methods: A. Use the scraper, needle or other sharp point to cut a grain pattern into the repaired area. Choose the appropriate color of polymer and melt a small amount into the grain pattern. Remove excess with finishing planer. |
|
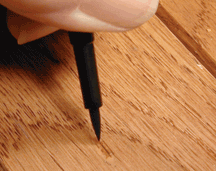 B. Use the appropriate color of edge preparation pen to carefully draw the grain on the repaired area |
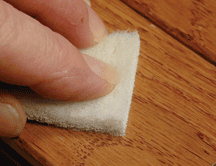 Blend the finished area with the Scotch-Brite. |
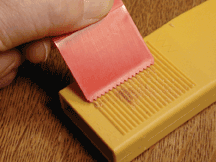 NOTE: Inside the finishing planer is a serrated edge used to clean the grooves on the planer. |
|
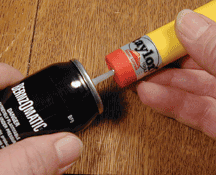 Use a butane cartridge to refill the hot knife. |
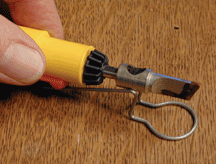 Always set hot knife on wire holder when not in use: CAUTION: the knife and the wire holder are HOT! |
CERAMIC/VINYL DOCTOR The Ceramic/Vinyl Doctor contains the same tools as the Wood Doctor but incorporates a different selection of colors for the thermoplastic polymer bars. Application instructions for the Ceramic/Vinyl Doctor are the same as for the Wood Doctor. Remember, practice makes perfect, and with a little practice using Wood or Ceramic/Vinyl Doctor, you will be able to quickly and easily touch-up and repair a wide range of imperfections and impairments to wood, ceramic or resilient flooring, countertops, plastic laminate, cabinets, trim and other surfaces. |
|
