
Manufacturers of Professional Floor Covering Tools & Equipment
 Installation Instructions |
|||
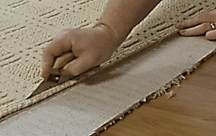 1. Prep carpet by trimming to provide clean, smooth edges. |
 2. Start SERGE binding with a clean cut. |
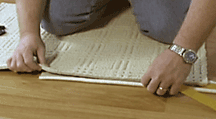 3. Pull back the release paper and begin by applying the INSTABIND in the middle of one cut edge. |
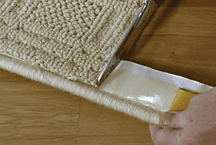 4. Extend past the corner of the carpet and, using the edge as a guide, snip the flat part of the INSTABIND. |
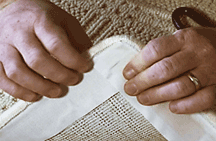 5. Overlap the backing while rounding the corner. Continue around the carpet until you return to the beginning. |
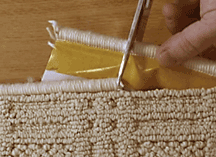 6. Using the starting point as a guide, make the finishing cut with scissors, trimming any excess strings. |
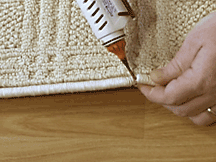 7. Seal the beginning and ending points together by applying a bead of hot melt glue to connect. |
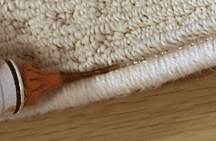 8. Seal the edges of the carpet to INSTABIND by applying a bead of hot melt glue between the piping and the carpet. Hold in place a few seconds to let the glue set and continue the process. |
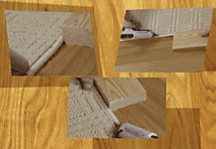 9. You can also use a piece of wood as a pressure guide behind the application of glue for a quick, easy bond. |
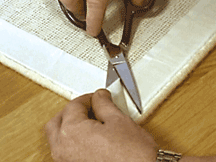 10. For a more attractive look on the back, turn the carpet over, peel one edge of the INSTABIND backing and trim at a 45° angle. Smooth the adhesive. |
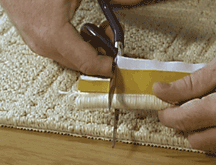
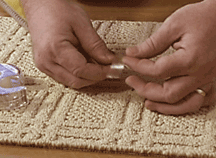 11. ROPE BINDING: Wrap the end of the rope with a piece of clear tape to keep it from fraying. |
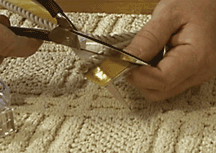 12. Cut through the middle of the clear tape to provide a clean starting point. Apply the INSTABIND as in previous instructions. |
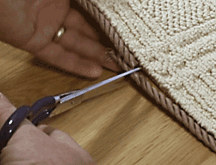 13. To reunite the rope binding ends, apply a piece of clear tape at the point on the end piece where it will connect with the starting piece. Line the ends up to make the final cut. Seal the ends with hot melt glue and, once cool, remove the tape. Finish as in previous instructions. |
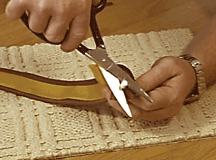 14. REGULAR BINDING: Start by peeling back the material to expose the white piping. Snip approx. 1/2" of piping. |
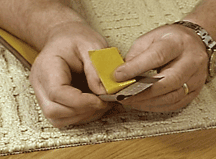 15. Fold the binding cover back into position, leaving a 1/2" hollow tube. Proceed as in above instructions. |
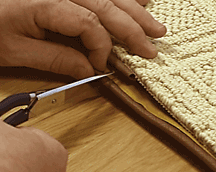 16. To finish, line up the last cut with the void from the first cut. |
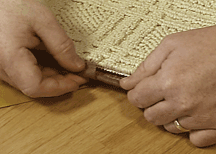 17. Insert the finish end into the hollow portion of the start end. Finish as in previous instructions. |
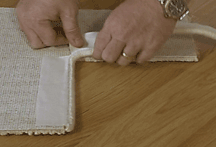 18. Inside corners can be done with all three binding products. |
||
